For a few months I’ve had a Rock64 sitting around and I’ve started embarking on a project which will combine a few of my interests: single-board computers (like Rock64 and Raspberry Pi), software defined radio, aviation (in this case ADS-B), and whatever else I feel like adding to the project as time goes on.
This post will focus on getting Armbian up and running on the Rock64.
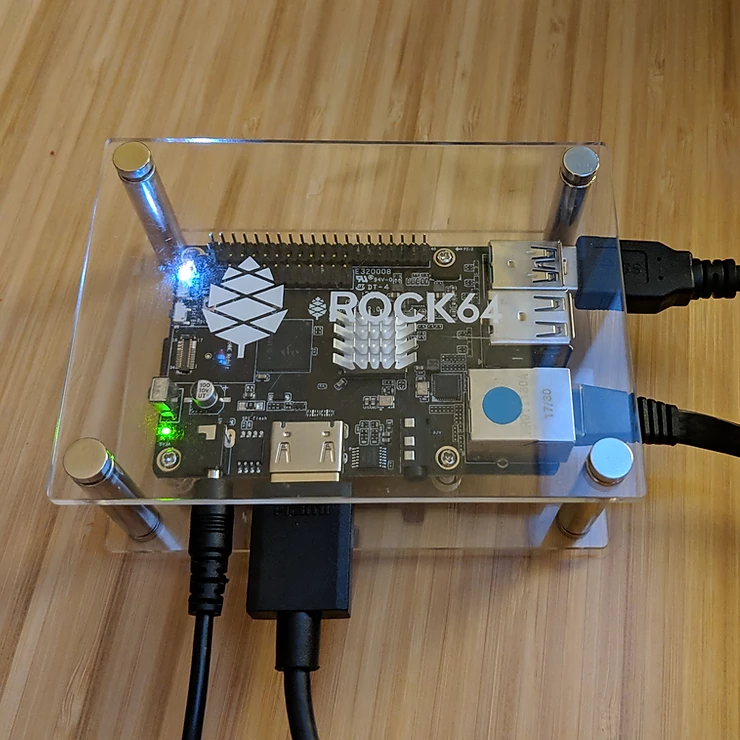
The Hardware
If you want to find out more about the specifics of the Rock64 (or R64 as I may start calling it below) you can do so on their website. I haven’t had a chance to play with all of the GPIO pins, etc., but as far as single board computers (SBCs) go it is pretty capable.
The quick pros for me right now:
- Quite powerful; noticeably faster than RPi; even 3B+
- 1G, 2G, and 4G RAM options
- 1xUSB3 and 2x USB2
- Gigabit ethernet on board
And some cons:
- Software support not as robust as RaspberryPi
- No built-in wireless
- Power over a barrel; 5V3A (we’ll be using a PoE+ splitter to provide a single power & data connection to the system)
- If you want to use eMMC make sure you plan on hot-gluing the chip down. It is VERY easy to dislodge while handling.
The Operating System
I’ve used some of the other operating systems designed for the R64 previously, but Armbian actually makes things really easy. For most of my applications I prefer headless systems, and Armbian allows you to SSH in remote from the first boot which is great. (You can get this functionality for RPi with just a tiny bit of “hacking.”) So, this tutorial is based on the Armbian Bionic legacy kernel 4.4.y release. Note: “desktop” is not mentioned in the name so we will not have a GUI.
Downloading and Imaging
If you’re familiar with creating bootable USB images this section probably won’t add much to your knowledge-base. If you’re relatively new to the process, the easier pointers to give are:
- Download the Armbian image using your preferred method. Bittorrent was quite fast for me.
- Decompress the image. If you’re on Ubuntu you’ll want to install the
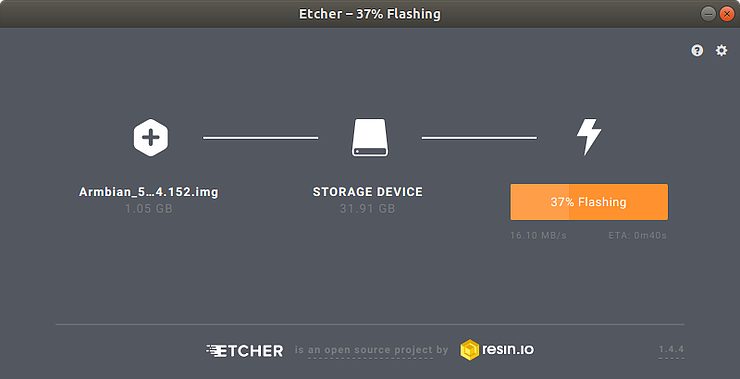
p7zippackage: sudo apt install -y p7zip - Download Etcher
- Run Etcher
- Select the decompressed .img file on the leftmost icon
- Insert and select your microSD card in the middle. (If you only have one USB mass storage device plugged in to your device it may automatically select it for you.)
- Hit ‘flash’ on the right.
- Wait for it to image and verify your media.
First Boot
If you want to see the whole “consolecast” of the first boot process, it is posted below. I’ll also provide the brief overview below as well for easier copy pasting.
If it weren’t apparent, remove the microSD card from your host machine, and insert it in to the Rock64. Then plug in the power cord to the R64. The device should automatically boot. (Make sure you don’t have the eMMC jumper in place. If one was not put one there specifically, there shouldn’t be anything for you to worry about.)
The first thing to note is that booting Armbian on the R64 takes a long time. Boots / reboots routinely take 40-50 seconds on my device. Not great, but hopefully we won’t be rebooting the device too much.
My network (Google WiFi) automatically allows me to access new devices on the network based on their hostname plus the “.lan” TLD. So, logging in to the R64 is as simple as:
ssh root@rock64.lan
If rock64.lan doesn’t work consider trying rock64.local (this has worked for me in the past on Apple-backed networks), or Googling to see if your route provides DNS services for local hostnames. If all else fails you’ll have to manually find the IP address, or login to the device locally.
If you’re logging in over the console (monitor and keyboard) the process looks basically identical.
The default root password for Armbian is 1234, but it will make you setup a new root password, and a non-root user account immediately after you login.
Once you’ve logged in you’re going to want to update the software on the system, clean up anything that isn’t needed anymore, and reboot. If you’re familiar with Ubuntu or Debian this will be very familiar to you. If not, the next four steps:
- Update the available packages
- Download and install the latest package updates
- Remove any unneeded software
- Reboot the system
apt update
apt dist-upgrade -y
apt autoremove -y
reboot
After that decently lengthy boot cycle you should be able to login to the system again as either root or your user account.
Extra Credit - Further Security Hardening
While you can certainly start using your Rock64 right away, I highly recommend adding some security hardening measures to your system. Why?
- Root login is enabled via SSH. This is widely regarded as a bad move.
- The default SSH port is easily exploitable by scripted attacks
- SSH provides a very convenient, and more secure, method of authenticating by leveraging public key cryptography.
I won’t try to overly complicate the article, but I will link to a few quick fixes I recommend you make below:
- Easy - Disable root SSH access on Ubuntu
- Moderate - Setup your client to use custom SSH configurations (AKA, type
ssh rock64instead ofssh -p 22222 -o "IdentityFile /home/myuserid/.ssh/specialid_rsa" user@rock64.lan) - Advanced - Setup public/private key-pairs to login over SSH
- Advanced - Disable SSH password login (This site actually covers a few of the topics above as well.)